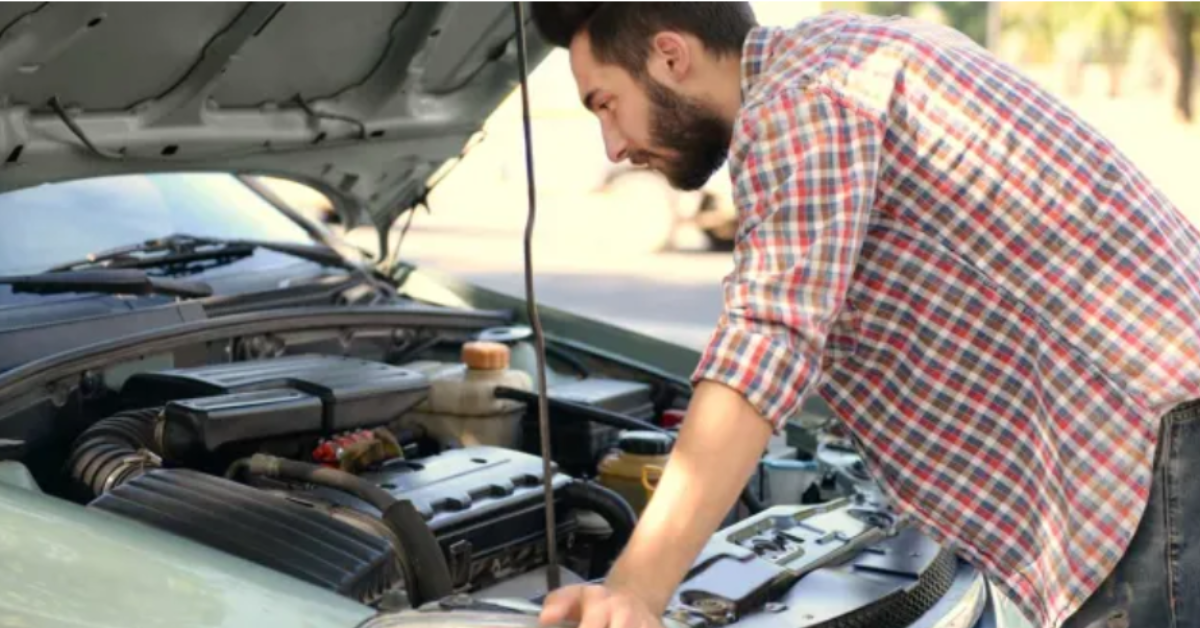
Checking under the hood can catch small problems before they cause an expensive breakdown.

Keeping a car running smoothly and reliably for the long haul requires routine maintenance. And although cars have become, in many ways, complicated computers on wheels, there are still some basic DIY tasks that can make a significant difference, including periodic driveway inspections.
Inspecting the body, the tires, and under the hood can catch developing problems before they become both expensive and inconvenient.
For example, a belt or hose failure can cause an overheated engine, loss of power steering, or loss of the electrical charging system. If a hose leaks coolant or the belt turning the water pump snaps, the cooling system is inoperable. If the engine overheats, it can suffer serious internal damage that requires expensive repairs and can ruin a summer vacation.
Overheating can occur anytime, but usually happens in the summer. Under-hood temperatures are much higher, and heat can trigger or accelerate deterioration of rubber compounds.
Below we will highlight what to look for when inspecting hoses and accessory belts, and how to perform your own inspection.
Coolant and Heater Hoses
Hoses are the cooling system’s weakest structural component. They are made of flexible rubber compounds to absorb vibrations between the engine and radiator, or, in the case of heater hoses, the engine and the body’s firewall. Designed to hold coolant under pressure, hoses are also subjected to fluctuating extremes of heat and cold, dirt, oils, and sludge. Atmospheric ozone also attacks rubber compounds.
The most damaging cause of hose failure—electrochemical degradation (ECD)—isn’t easy to detect. According to engineers for the Gates Corporation, a parts maker, ECD attacks hoses from the inside, causing tiny cracks. Acids and contaminants in the coolant can then weaken the yarn material that reinforces the hose. Eventually, pinholes can develop, or the weakened hose may rupture from heat, pressure, or constant flexing.
Some easy, basic maintenance can help prevent coolant hose failure:
- Check the white coolant-recovery tank often to ensure proper fluid level. Marks on the tank indicate the proper level for when the engine is cold or hot. If the tank is low after repeated fillings, suspect a leak. Also check for white, light green, blue, or pink coolant tracks in the engine bay, which is residue left from leaking coolant.
- When the engine is cool, squeeze the hoses with your thumb and forefinger near the clamps, where ECD most often occurs. Feel for soft or mushy spots. A good hose will have a firm yet pliant feel.
- Inspect for cracks, nicks, bulges (usually while hot); or a collapsed section in the hose and oil contamination; or fraying near the connection points.
- Look for parallel cracks around bends (caused by ozone), a hardened glassy surface (heat damage), or abrasive damage (hose is rubbing).
- Flush and replace the coolant according to the owner’s manual. Clean coolant is less likely to support ECD.
- Never remove the radiator cap when the engine is hot, as the hot coolant will be under pressure. Also, be aware that an electric cooling fan can come on at any time.
The upper radiator hose fails more often than any other hose, followed by the water pump bypass hose (if your vehicle is so equipped), and the outlet heater hose from the engine to the heater core. Experts recommend, however, that all hoses be replaced at least every four years or when one fails. Always use replacement hoses designed to fight ECD. Trademarks will vary among hose manufacturers. (Gates uses “ECR” for Electro-Chemical Resistant). Look for a “Type EC” label on the hose or its packaging. That is a Society of Automotive Engineers standard signifying “electrochemical.” Most vehicles built after 1993 come with ECD-resistant hoses.
Accessory Belts
Many of the same elements that attack hoses also attack belts—heat, oil, ozone, and abrasion. Almost all cars and trucks built today have a single multi-grooved serpentine belt that drives the alternator, water pump, power-steering pump, and air-conditioning compressor. Older vehicles may have separate V-belts that drive the accessories. The Car Care Council says chances of a V-belt failure rise dramatically after four years or 36,000 miles, while the critical point for a serpentine belt is 50,000 miles. Any belt should be changed when it shows signs of excessive wear. But many new composite belts don’t show signs of wear until the failure occurs.
Here are tips for inspecting belts:
- Look for cracks, fraying, or splits on the top cover.
- Look for signs of glazing on the belt’s sides. Glazed or slick belts can slip, overheat, or crack.
- Twist a serpentine belt to look for separating layers, cracks, or missing chunks of the grooves on the underside.
Replacement belts should be identical in length, width, and number of grooves to the factory belt. Serpentine belts are usually kept tight with an automatic tensioner. Signs of a belt-tension problem include a high-pitched whine or chirping sound and vibration noises. Without proper tension, belts will slip and generate heat or fail to turn the accessories.
If in doubt, check with a qualified technician about any cooling problems, and always consult your owner’s manual for routine maintenance procedures.
To read the full article, click here.